
How to Match Hardwood Floors: A Seamless Transition Guide
Extending existing hardwood floors into a new room, repairing a damaged section, or seamlessly integrating a new kitchen floor can be one of the most rewarding yet challenging home projects.
Achieving a perfect, undetectable transition when trying to match an existing hardwood floor is basically impossible. However, if you want to get close, it requires a meticulous, step-by-step approach. It’s truly a science of color, species, cut, age, and finish.
For Bay Area homeowners in historic San Francisco homes or expanding modern houses in Dublin, The Floor Store’s experts are here to help you navigate the complexities of matching old hardwood floors.
Table of Contents
- How to Match Existing Solid & Engineered Hardwood Floors
- Step 1: Identify the Original Floor’s Characteristics
- Step 2: Mastering Color, Stain, and Finish
- Step 3: The Seamless Transition and Professional Blending
- The Floor Store Can Help Match Your Hardwood in San Francisco & the Bay Area
- Solid & Engineered Hardwood Floor Matching Frequently Asked Questions (FAQ)
How to Match Existing Solid & Engineered Hardwood Floors
Step 1: Identify the Original Floor’s Characteristics
Before shopping for a single plank, you must become a detective and precisely identify the four key characteristics of your current floor:
- Wood Species: This is the most crucial step. Different woods like oak, maple, hickory, or walnut have unique grain patterns that cannot be replicated by another species. For instance, the tight, subtle grain of maple is entirely different from the bold, open grain of red oak. Take a clear sample (even a piece from an inconspicuous closet) to one of our showrooms in San Jose or Santa Rosa for expert identification.
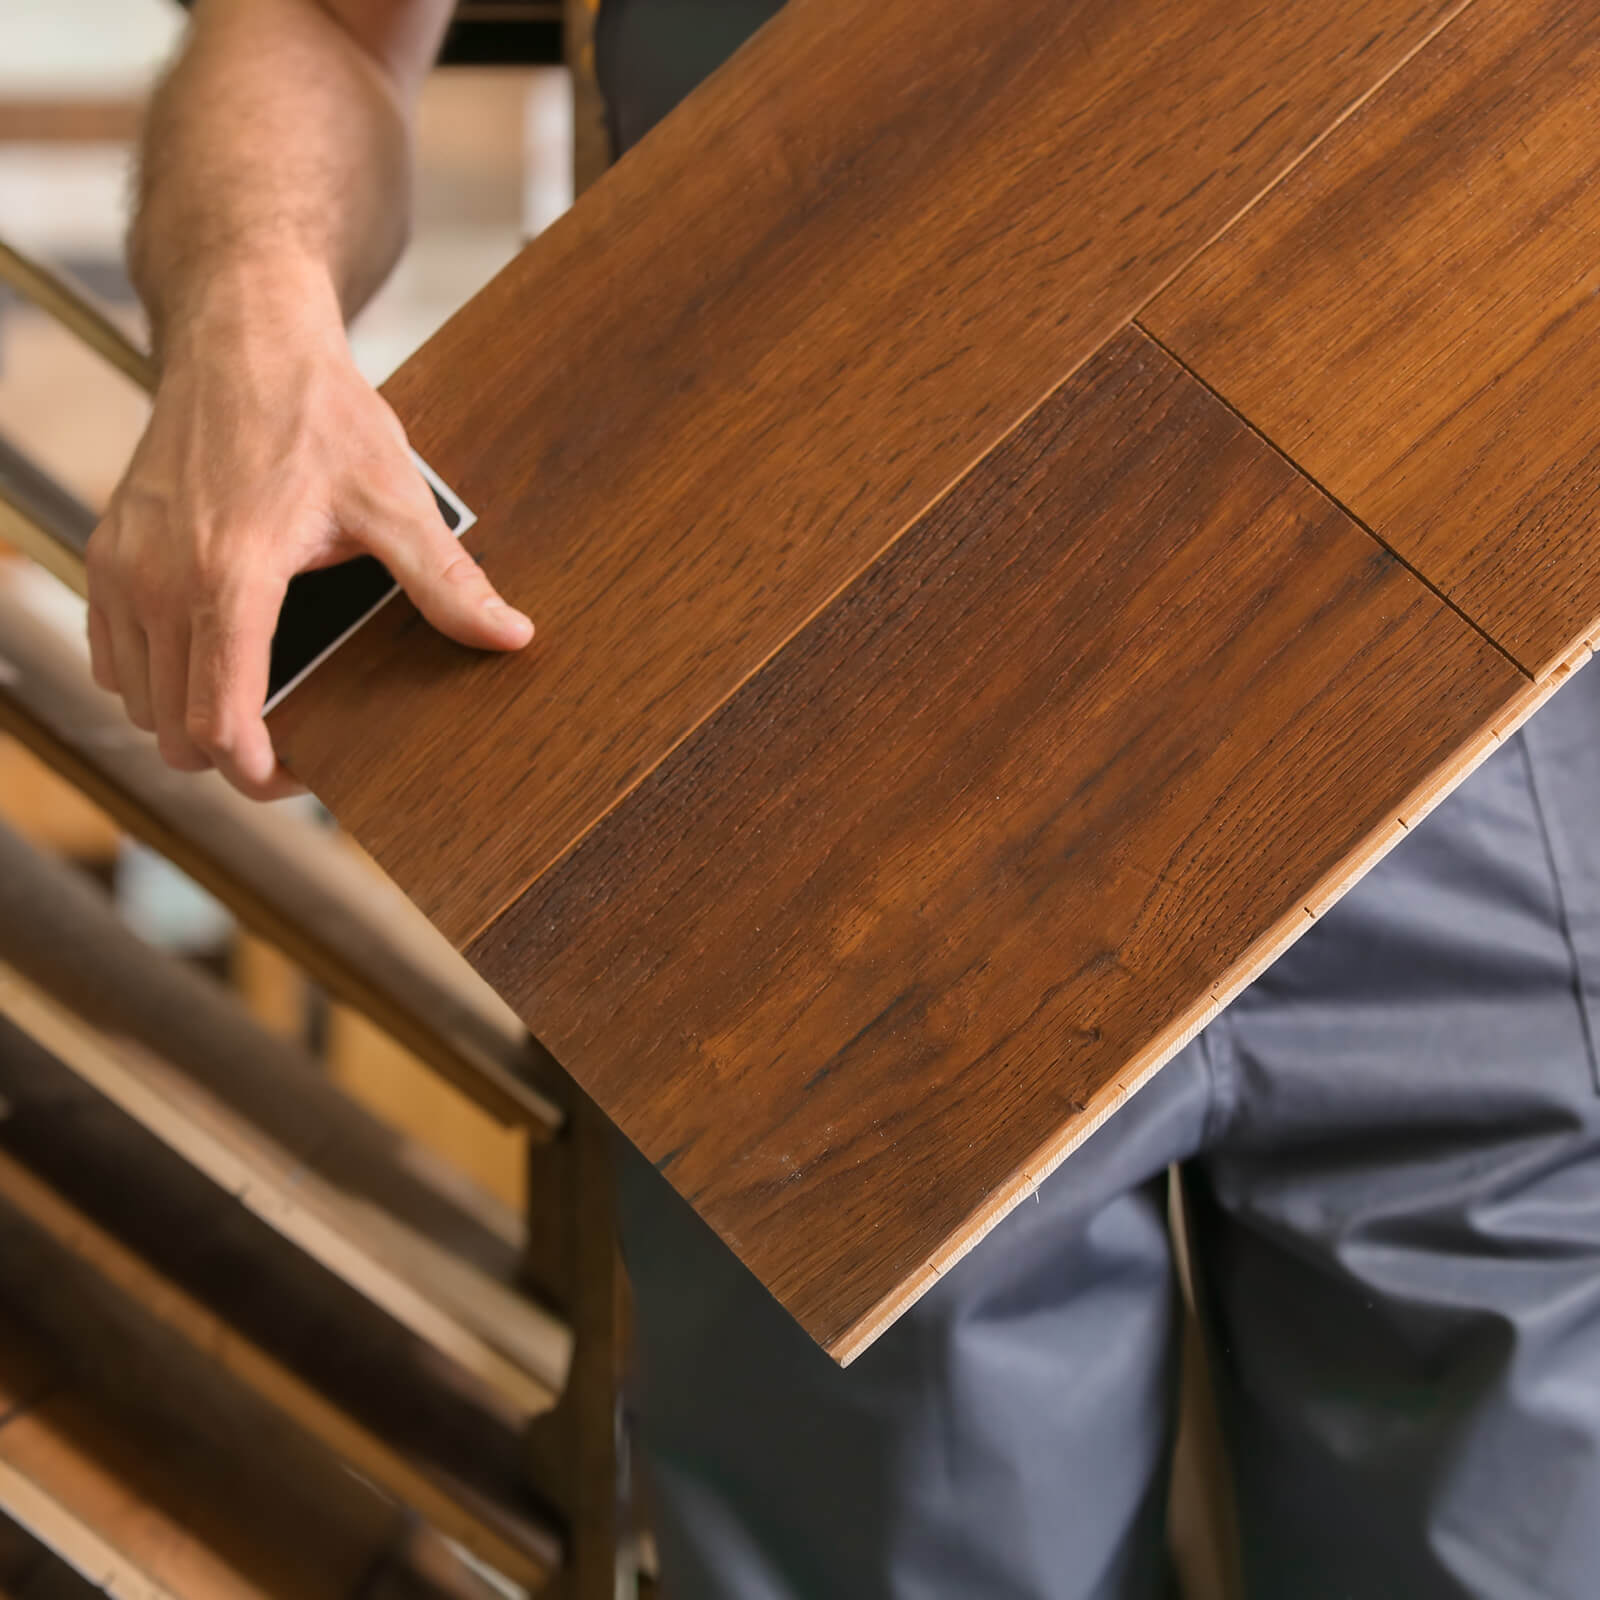
- Plank Width and Cut: Measure the width of your planks precisely (e.g., 2-1/4 inches, 3-1/4 inches, or a modern wide-plank 5 inches or more). Next, determine the cut (e.g., plain sawn, quarter sawn, or rift sawn), as the cut affects the visible grain pattern.
- Solid vs. Engineered: Determine if your existing floor is solid hardwood (real wood throughout) or engineered hardwood (a veneer layer on a plywood core). This affects both the available thickness and how the new floor must be installed.
- Grade: The grade of the wood (e.g., select, common, or rustic) dictates the number of knots, color variation, and natural imperfections.

Step 2: Mastering Color, Stain, and Finish
This is the most important step when trying to figure out how to match existing hardwood floors. Even if you find the identical wood species, the color and finish are where most matching attempts go wrong:
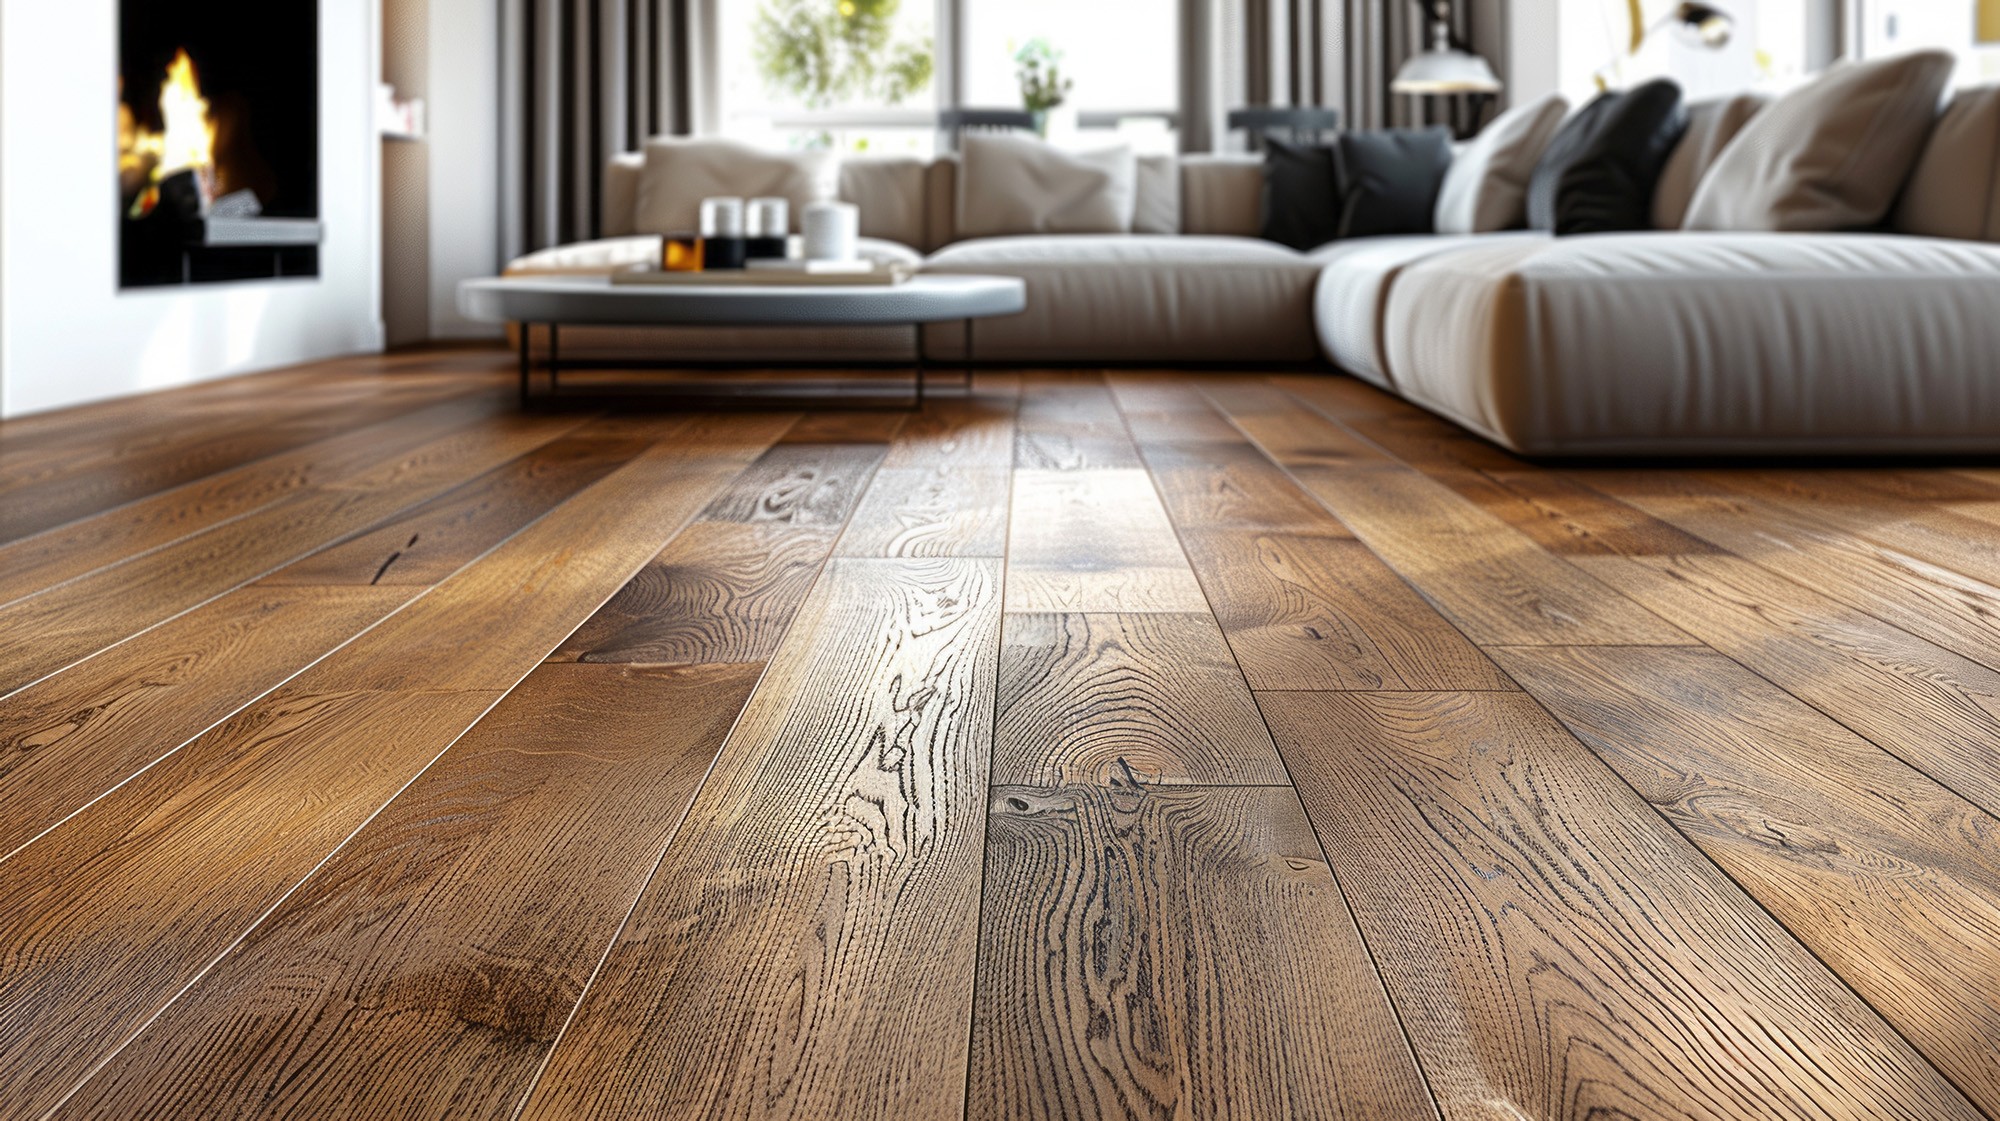
- Natural Aging (Patina): Hardwood changes color over time due to UV exposure and oxidation, a process known as developing a patina. New wood, even unstained, will naturally be lighter than wood that has been installed for decades. When you find a matching wood floor, a professional may recommend staining the new wood slightly darker to begin the aging process, allowing it to gradually match the existing floor over the next year.
- Stain Matching: If your existing floor is stained, you’ll need a near-perfect stain match. Our specialists will help you use small test patches on the new wood species to blend stains until the match is seamless.
- Sheen Level: The finish or sheen level is critical for visual continuity. Hardwood finishes come in matte (low-luster), satin (most popular), semi-gloss, and high-gloss. An exact match of the sheen is necessary to prevent the new area from standing out when the light hits it.
Step 3: The Seamless Transition and Professional Blending
Once the planks are installed, the final step is blending the new section with the old.
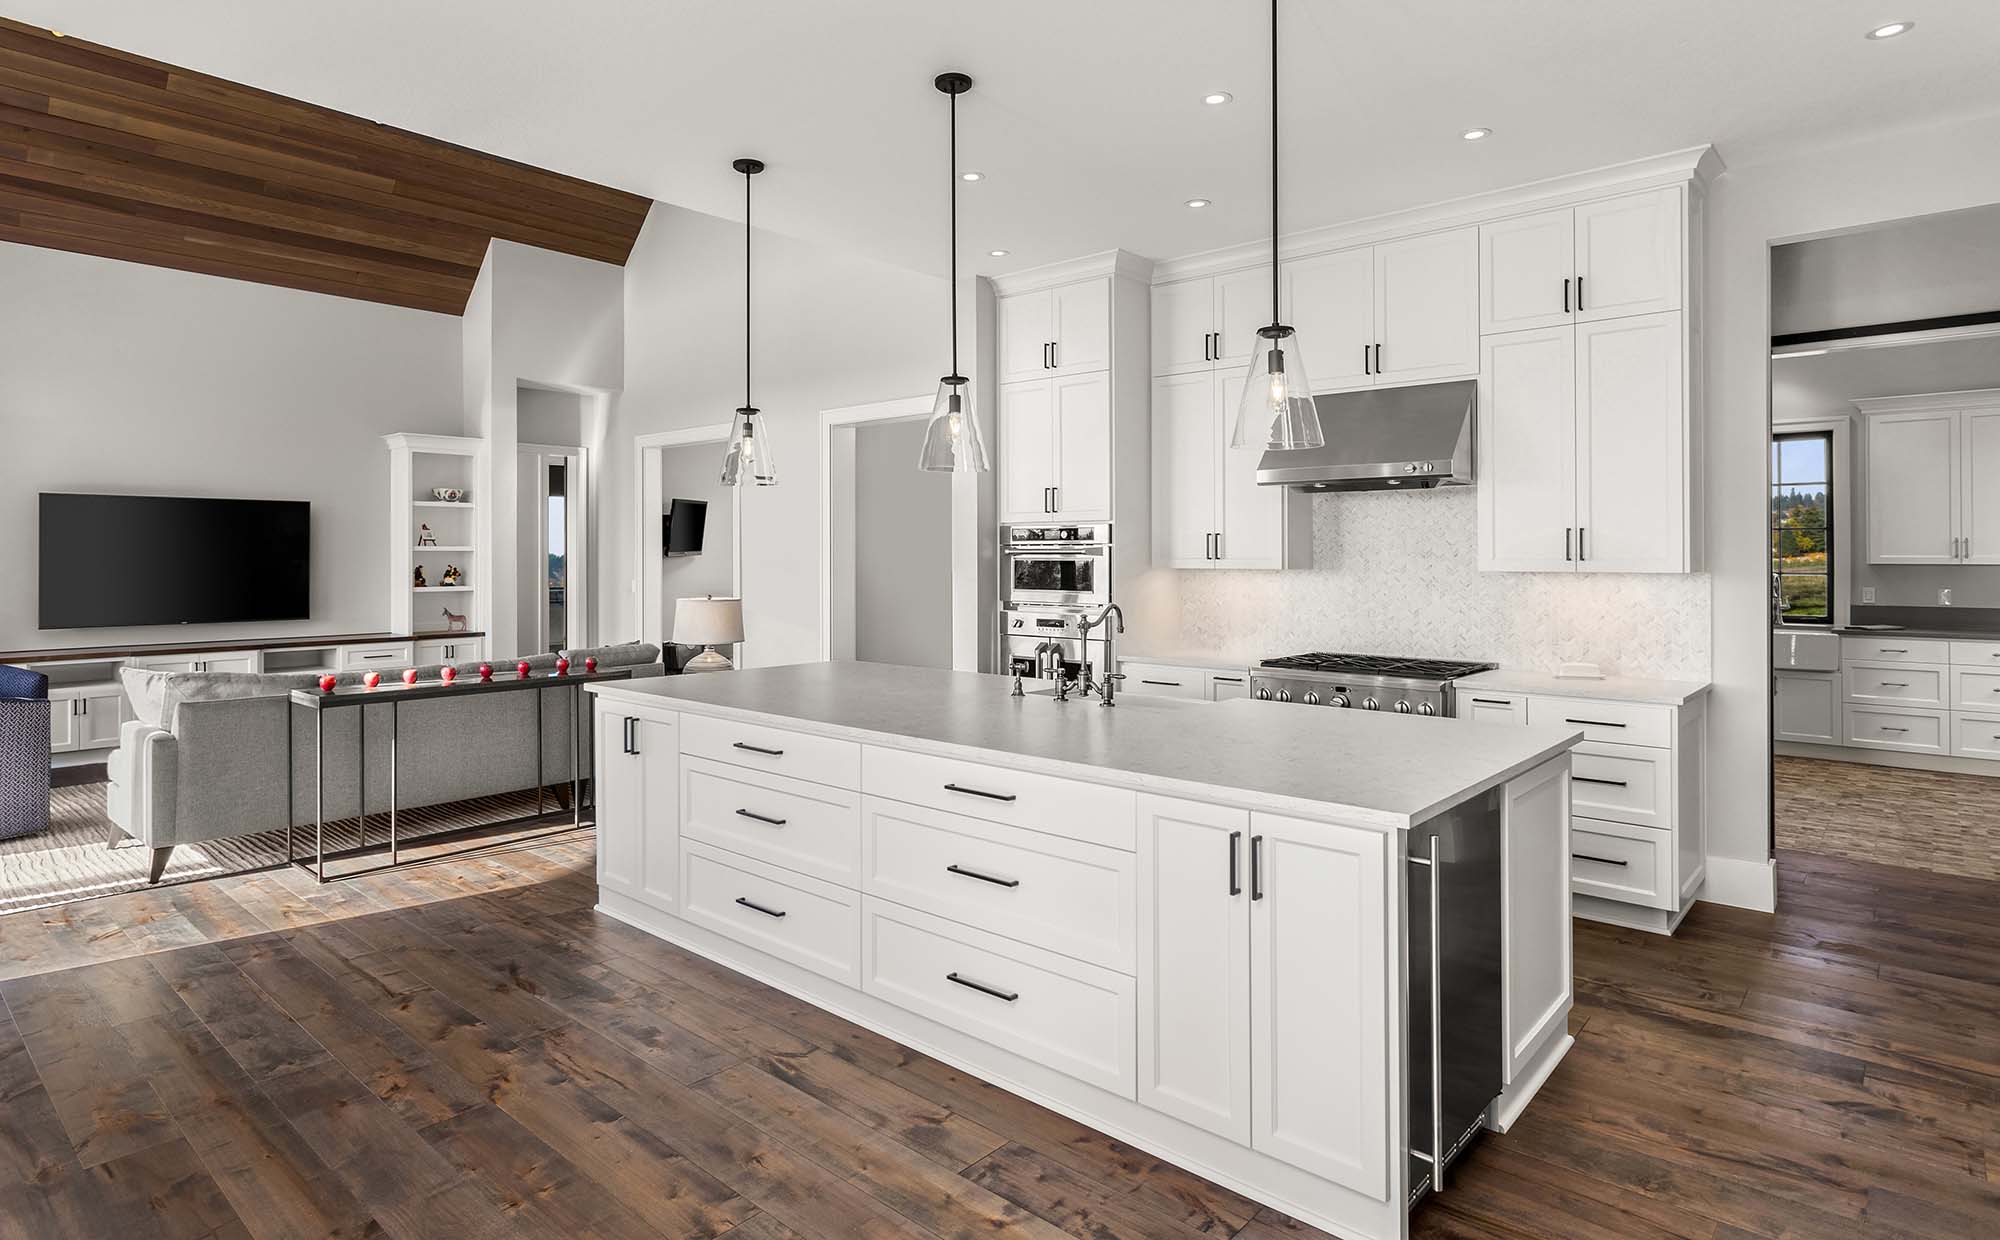
- Sand and Refinish the Entire Space: The absolute best way to match existing hardwood floors is to sand and refinish the entire area (both old and new wood) at the same time. This allows the professional to apply a single, uniform stain and finish coat across all planks, eliminating any difference in age, color, or sheen. This process is highly recommended for adjacent rooms or open floor plans.
- Transition Strips: If refinishing the entire area isn’t feasible, a transition strip (like a T-molding or a reducer) can be used in a doorway to create a neat, deliberate break between the old and new sections.
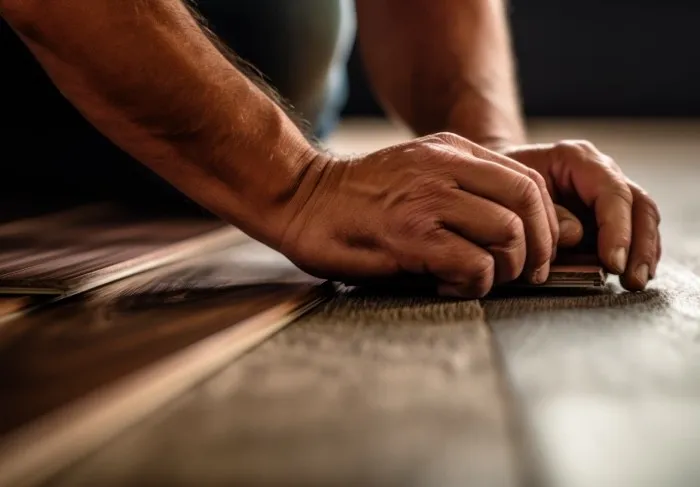
- Lacing In: For repairs or seamless extensions, expert installers will “lace in” the new planks by staggering and interlocking them with the existing pattern, rather than creating a straight, noticeable line. This technique requires meticulous skill, which our master craftsmen at The Floor Store possess.
The Floor Store Can Help Match Your Hardwood in San Francisco & the Bay Area
Finding the perfect matching old hardwood floors is a specialized project. Our Bay Area teams in Concord, San Rafael, and throughout Northern California offer expert consultation, bringing years of experience and top-of-the-line wood products right to you. Take advantage of our convenient shop-at-home service to compare samples directly against your current flooring under your home’s unique lighting conditions.
Call or visit our showrooms servicing the entire Bay Area. With 10 convenient locations, we are proud to serve the Bay Area and Northern California!
Our Locations
- Richmond / Albany, CA
- Burlingame, CA – Outlet Now Open
- Concord, CA
- The Flooring Store in Dublin, CA
- Fairfield, CA
- San Carlos, CA
- San Francisco, CA
- San Jose, CA
- San Rafael, CA
- Santa Rosa, CA
- Sunnyvale, CA
Solid & Engineered Hardwood Floor Matching Frequently Asked Questions (FAQ)
Can I match my existing hardwood floors exactly?
Short Answer: No. Achieving a 100% identical match is nearly impossible due to natural aging and wood variations. However, if you leverage our tips and tricks, you can get close!
Why does my new wood look lighter than my old wood?
This is due to a process called patina. Over time, hardwood changes color because of UV exposure and oxidation. Even if you use the same species and stain, the new wood hasn’t “aged” yet. To fix this, our pros may recommend staining the new wood slightly darker or refinishing the entire space to create a uniform look.